
Step 1: download the ODBC mysql driver!

Step 1.a: install
 Now there are two ways of going about this one is through Visio (easiest).
Step 2 (via visio): Open Visio go to File ->New->Getting Started-> Software and Database ->Database Model Diagram-> (from File Menu) Database-> Reverse Engineer and then select ODBC Generic Driver under installed Visio Driver and click on "New ..." button underneath setup.
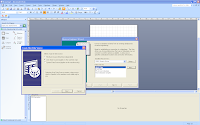
Step 3 (via visio): Select "User Data Source" and click on Next and then scroll down to select the "MySql ODBC 5.1/VERSION Driver" at the bottom as in the picture.
 Step 4 (via visio): Click on Next and then it will say "When you click finish you will create the datasource you have just configured.The driver may prompt you for more information " click Finish.
Step 5 (via visio): When you click on finish it will prompt you for your database information. This is what my mysql db looks like :
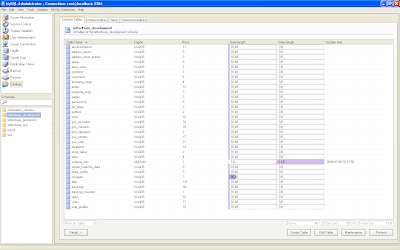 The db name is letter4sure_development and the port is the default 3306 and then you just enter the user name and password so and try to "test" the connection :
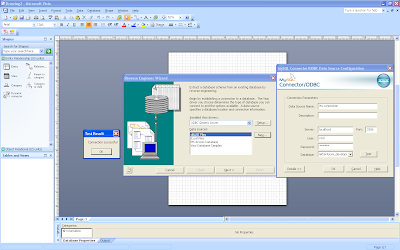 As you can see the test connection was successful.
Step 6 (via visio): Now it should show up in your drop down so:
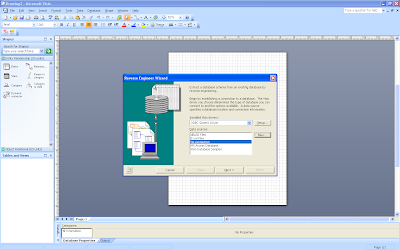
Step 7 (via visio): Now Visio should ask for the password again (and from here you should be able to handle this on your own but for completeness I will elaborate further):

It may give a warning about incompatible drivers (I ignored it).
Step 8 (via visio): You now select the primary keys, indexes and foreign keys you want imported.
 Step 9 (via visio): Now you select the tables (if you are using Ruby on Rails as I am do not select "schema info" since that table is used by the rake migrations table, remember!
 Step 10 (via visio): Visio will ask if you want to add the shapes check "yes" and click next to see the following confirmation window (almost there):
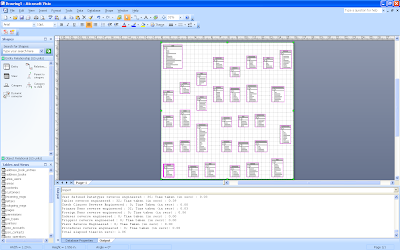
 Step 11 (via visio): View the generated schema and wish the author of this blog "Athar Shiraz Siddiqui" good will and blessings. Hopefully this was helpful for you...


No comments:
Post a Comment